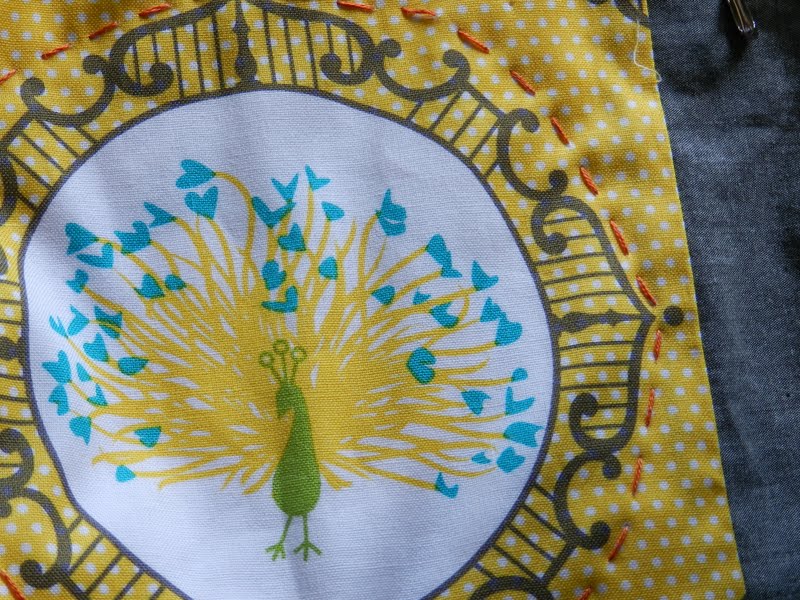
I needed to sew a few little bags to use in my classes....so my post yesterday was a bag I made for me....
This one is big enough to hold my plastic templates that I use for this quilt.....
And these are examples of the bags I will be using in my classes...
They are very easy to make and yet can really come in handy....for templates, spools of thread and a little pair of scissors, your precious and semi-precious stones {hee hee}!!!
So, I think a tiny tute is in order....
I cut my rectangle for the body of the bag 10" X 11". The body will be folded in half so you can easily make this any size you need.
Measure down 1.5 inches from the top on both sides and make a mark 1/4 inch from both sides in toward the center of the bag....1/4 inch because this is your seam allowance.
Clip this 1/4 inch....
Then fold the top - just slightly - and press....
Fold all across the top at the clipped 1/4 inch mark, open up that fold and bring the folded edge at the very top down to meet the crease at the 1/4 mark and press....
Stitch along this folded edge....close to the edge. This is the casing for your ribbon.
At this point, I stitched my words and embellished the front. Keeping in mind this will be folded in half....so you want to be sure you are adding the adornments on the front!
Take the body of the bag and fold in half...stitch from the clipped 1/4 inch mark to the bottom of the bag...pivot and continue stitching across the bottom.
Turn the bag inside out and string your ribbon through the casing!
And there you have a very simple bag :)
plate by Molly...high school ceramics class ;)
I have to show you a little of the lovely fabric that came in to the shoppe this week....
I just can't wait to cut into it....
This is from Birch....
So sweet!
Happy Tuesday everyone!
mary :)