Hey this is Molly! So as promised by my mom I am coming up with a series of embroidery tutorials for some of my favorite stitches. I love the linked- chain stitch and use it often... its great for borders, creating pretty little flowers (called a "lazy daisy") and adding accents to fill up blank space. Its also a cool stitch to know because it looks complicated, but in fact, is really easy to do! So here we go... :)

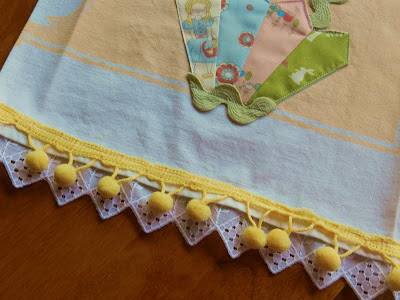
Ok, so to demonstrate these stitches, I have decided to put them all into a sampler. In order to make sure I stitch in a straight line (which is not my forte) I lined some making tape up with a ruler and applied it to the fabric so it could direct my stitching. After this I'll probably just follow the guideline of my first row of stitching. Also, for this project I am using a piece of toweling as my background fabric, mostly just because I like it. However, if you are thinking of making a sampler or any embroidery project you can really use any type of material as your background (Note: linen is not my fabric of choice because it tends to shift away from you and sometimes you end up with some wonky lines).
Next I put my work in a hoop. This is pretty self explanatory, but you want to make sure that you get most of the fabric into the hoop, even if the place where you are going to start is way at the top like it is right here.
You really don't need much to do an embroidery project, but some supplies that will be essential are: an embroidery needle (different from a regular needle because it has a large eye), a hoop (right here I am using an 8 inch hoop, but they come in many sizes) and embroidery floss. Now, embroidery floss comes twisted in strands of six, its fine to use the embroidery floss as a whole, but I generally split it in half so that there are only three strands in the thread that I work with. (that is shown above)
So now its time to start stitching! You want to come up through the bottom of the fabric at your starting point. Then you will put the needle back through the fabric very close to or at the point where you came through...
...then you want to pull the big loop you have made into a smaller loop (this loop will still be bigger than you want your actual stitch to be, but it will be much more manageable to work with).
After you have made the loop bring your needle up through the fabric about a quarter of an inch away from the point of origin. (Note: where you bring your needle up through the fabric at this stage determines how long your stitch is going to be. It can be longer or shorter than a quarter of an inch, but very long linked-chain stitches tend to close up and look less plump)
Next you will want to hook your loop on the needle. After this pull the rest of your thread through the fabric and the loop creating a tear drop shape with the thread coming up from the rounded part. ( You don't want to pull too tightly during this step because too much strain on the "teardrop" will also cause it to scrunch or close up and may not produce the desired effect).
Now for the final step! You will essentially make a small stitch originating from where the thread is coming up from the rounded end of the teardrop and going back into the fabric a small distance away (this stitch should really only be half as long, if not less, as the chain or teardrop). This stitch is the "link" in the chain stitch and also serves to anchor it.
And this is what your stitch should look like after it is completed!
If you want to do a row of these stitches you would want to come up for the beginning of your next stitch underneath the "link" part of the preceding stitch (as in the picture above) so that it looks as if these chains are linked together.
And this is what my row looked like after it was completed (and all the tape was taken off ... lol). This was my first tutorial ever - so hopefully everything was clear and helpful. Have fun stitching!
-Molly


